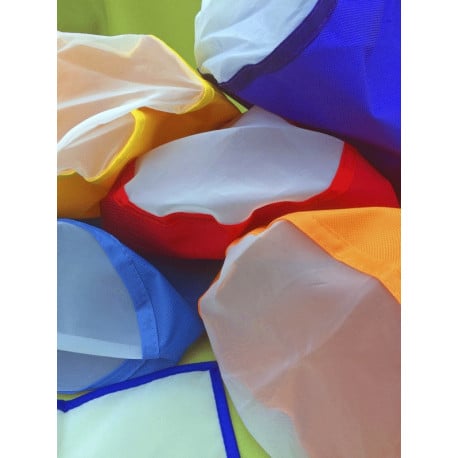
Bubble Ice Bags 1 Gallon x5
BB1x5
New product
- Bubble Ice Bags x5 + 1 screen press + Carry bag
- Material: 600D, nylon mesh
- Volume: 1gallon (approx 4liters)
- Color: 5 colors
- Micron: 220micron,160micron,120micron,73micron, 25micron
- Delivery Included!
This product is no longer in stock
- Write a review
More info
1. Place your bags into your bucket. The first bag to go in is the 25µ bag. It is the smallest micron bag in the kit, and often the full melt bag for sativa strains.
2. The second bag, 73µ, often called the full melt bag. If your bubble is going to bubble, it's often found here first.
3. The 120µ bag! Makes a nice grade of bubble.
4. The 160µ bag. Sometimes very nice when used with a dominant indica variety with large glands, or it can clean contaminant out of your 120µ and 73µ bags.
5. The final bag, the 220µ work bag, our most durable bag. It does not get caught in hand mixers and such. This is the last bag to be placed in your bucket.
Ok, now that we have added the last bag, it is time to put our water in the bucket. It is important to note that when adding the leaf, do not put any in until you have raised your water above the level of the screen. This will keep contaminant from entering your first few bags right from the start. A recommended practice is to have your water and ice settling together in a separate bucket. This will get keep the water nice and cold and eliminate a common problem of not putting enough ice in to get the temperature to 4 degrees Celsius or lower.
6. Add Fresh Frozen plant trim in, then pore remaining cold water & ice until full.
7. Mix for fifteen minutes. Mixing for fifteen minutes is all you need to procure the finest heads.
8. Let the mixture sit for 10 to 15 minutes after mixing to allow the gland heads to settle.
9. Once this bag has settled you can pull them out one by one, being careful to not let small pieces of leaf into your bags underneath it.
10. Place your extracted end product onto screen press for drying and you are done!
Any plant containing glandular trichomes will work with this process.
Data sheet
| Gender | unisex |
| Age group | adult |


